As an Exchange visitor you have passed through many steps in order to process your visa, get the approval and finally have the stamp on your passport. It took a lot of your patience and now you are surely excited to start this adventure in the USA. However there’s nothing worse than starting a new life with obstacles at the very beginning. Having problems at the airport when you are traveling to your final destination can put a damper on the very beginning of your exchange program instead of starting off on the right foot. For this reason, we give you some tips and information to make your very last step, the arrival to the US, smooth and painless.
It all starts with packing!
When you are packing for your trip to the US, you must be careful on how to organize your suitcases. In addition to following the security specifications of the airline regarding dangerous and prohibited items in your hand and checked luggage, you must also be aware of how to pack your documents for your arrival to the US.
It will be really terrible to get to the Immigration Control line at your airport’s destination and realize that you have all your official documents in the checked luggage! It is very important to bring your documents in your hand luggage, in a way that they don’t get wrinkled, get wet or rip. The best way to store your documents is to put them in a strong plastic folder (not in a thin plastic sleeve!) and bring them in your laptop case or at the bottom of the cabin baggage, so it’s flat and protected.
You should bring with you all the papers that your sponsor sent you, but make sure you always have with you the DS-2019. This is almost like your passport, because it states all the information that the Immigration officer will need to verify your program and the validity of your visa. Double or triple check that you have it before leaving to the departure airport. And don’t move it from where it is!
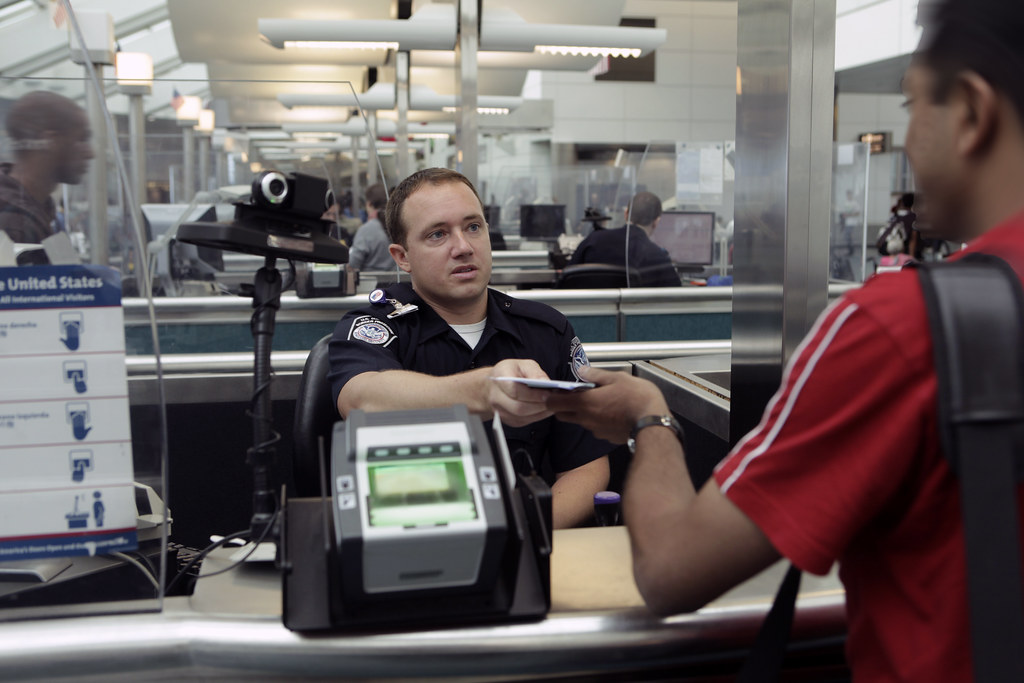
Passing the Immigration Control
You have probably heard many stories of all kinds about Immigration lines and the control with the officer. Maybe all of them are true, but you must understand that there are millions of people passing through the US airports every day. Millions of cases and millions of stories that aren’t necessarily related to your personal case. First of all, the Exchange Visitor program is NOT a working visa. The fact that you may be paid a stipend doesn’t make your visa a work permit! Do not confuse the two!
When you arrive at the Immigration line have these tips in mind and you will see how everything will go smoother than your thought.
- Be patient: we know you are tired from a long trip and sometimes the time in the Immigration line can be long (more than 1 hour in some cases). However, keep calm and try to entertain yourself while not disturbing the normal flow of the line (don’t stop or bother people behind you).
- Don’t take pictures: we understand that you are probably very excited to have arrived to your final destination, but remember that airports have special security conditions. In the hall where you wait on the Immigration line, it is strictly forbidden to take pictures for security reasons. Some airports don’t even allow phones in that area, so be aware of the signs pertaining to this restriction and never take pictures. Try to as well limit the use of your phone and don’t have long telephone conversations on the Immigration line, even when phones are permitted.
- Have your papers ready: while you are waiting in line, get your documents from your baggage and have them ready together with your passport. This way you will avoid delaying the Immigration check.
- The best interview is a simple one: when you arrive at the Immigration control, the Immigration officer will ask for your passport and as many documents as he/she understands are necessary to validate your entry into the US. Normally for Exchange visitors they ask for the DS2019 only, but they can inquire about more documentation provided by your sponsor, your host company or others. Other requested documents may include: proof of funds or proof of a clear intention to leave the States after the program. The officer will also ask you some questions about your program or your situation on arrival. They may also ask you if you have visited the US before. If you are asked about what you will do in the US, you must clarify that you are under a training program, coming to learn and improve your skills (remember! It is not a work permit!). Following the same advice that we stated in the US embassy interview preparation, remember that for you this is a unique moment, but the officer sees hundreds of people like you every day. Be nice, be respectful, and give clear and precise answers to only what they are asking. In case you don’t understand some question, ask nicely if they could please repeat it.
I passed Immigration. What do I do next?
Well, obviously get your checked baggage, and if you have any items to declare (mainly if you are entering with over $10,000 USD) don’t forget to do this before you leave the baggage claim area. For this, normally, they will give you a blue document for customs on the plane. Go to your hotel, rest up and be ready for more paperwork the day after.
Upon your arrival in the US, it is very important that you make it known that you are finally at your destination. First, let the supervisor of the host company know (remember that the name, phone number and email of your supervisor is stated many times in the Training Plan). Then, you must send to your sponsor or your agent some paperwork that is necessary to activate your SEVIS and validate your J-1 status. Basically, the sponsor will “tell the system” that you arrived safely and you are starting your program. The documents you need to submit are:
- Most recent I-94: you can get it on-line following this link: https://i94.cbp.dhs.gov/I94/ and clicking “Already Visiting and need proof of Visitor status”
- DS2019 signed by the US Embassy (they sign and stamp it during your interview)
- Arrival Notice (this page should be in the folder you received from your sponsor)
- Copy of your Visa page in your passport
Once this is done, you will have to wait 7 business days and you will be able to apply for your Social Security number.
Now, the real adventure finally begins!